Getting your smart devices to chat with you when you're not home, especially those little gadgets tucked away on your home network, can feel like trying to talk through a closed door. Many folks want to check on their Raspberry Pi projects or other internet-connected things from anywhere, yet the way home networks are set up often makes this a real puzzle. It's a common desire to have that kind of remote reach, but the actual doing of it can present some rather interesting twists and turns for the uninitiated, so to speak.
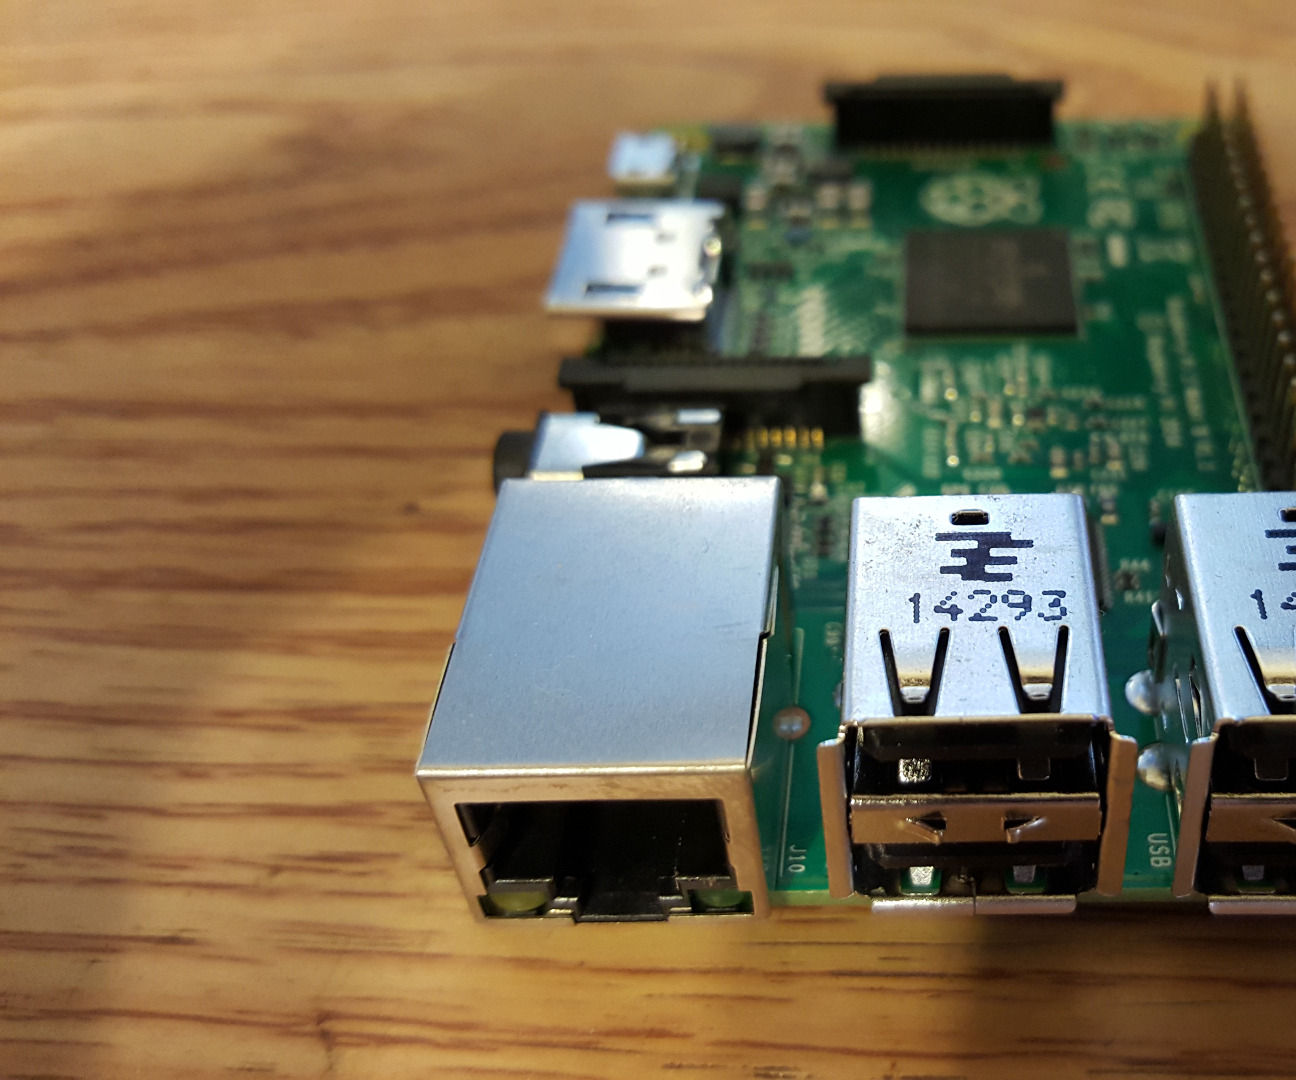
Your Raspberry Pi, that small, yet very capable computer, is a favorite for all sorts of clever home automation and monitoring tasks. You might have it watching your plants, keeping an eye on your pet, or even just running a personal server for your files. The challenge, you know, often comes when you want to access these things when you're out and about, maybe at work or on vacation. That little computer, pretty much like everything else on your home network, sits safely tucked behind your internet router, which is doing its job of keeping things secure and organized.
This article will go into how you can, in fact, reach your internet-connected gadgets, like a Raspberry Pi, even when they are cozy inside your home network, hidden by your router. We'll look at a few ways to get this done, talking about what each way means for you and your setup. It's all about making sure your clever little projects can still be useful, no matter where you happen to be, which is, honestly, a pretty neat trick to learn, in some respects.
- Madison Huang Net Worth
- Sasha Sanchez Limerence
- Greta Van Fleet Members Age
- Kaley Today Show
- Titus Makin Jr
Table of Contents
- What is Remote IoT and Why Does It Matter?
- The Home Network Hurdle - RemoteIoT Behind Router Explained
- Picking Your Path - RemoteIoT Behind Router Methods
- A Practical Walkthrough - RemoteIoT Behind Router on Raspberry Pi
What is Remote IoT and Why Does It Matter?
When we talk about "remote IoT," we're essentially talking about the ability to interact with your internet-connected gadgets from a distance. Think about being able to switch on your lights from your phone when you're still driving home, or maybe checking the temperature in your greenhouse even if you are, you know, hundreds of miles away. It's about having that control and getting information from your devices, no matter where you happen to be in the world. This kind of access really opens up a lot of possibilities for how we live and manage our personal spaces, which is pretty cool, actually.
For many people, the appeal of these kinds of setups is pretty clear. You might have a security camera on a Raspberry Pi that you want to peek at while you're away. Or perhaps you have a sensor that tells you when your mail has arrived, and you want to get that alert on your phone. These are all examples of needing remote access to your internet-connected things. It's about convenience, about peace of mind, and about making your devices work for you in a truly flexible way, which, for many, is a really big deal, obviously.
The ability to connect with your devices from far away also means you can do things like update software on your Raspberry Pi without having to be physically present. This is a huge time-saver for hobbyists and makers who have projects running in different spots, or even just for someone who wants to keep their home system running smoothly. It's about staying connected to your digital creations and making sure they keep doing their job, which, you know, makes life a little bit easier in a way.
The Home Network Hurdle - RemoteIoT Behind Router Explained
So, your home network is set up with a router, right? This router is pretty much the traffic cop for all the internet messages going in and out of your house. It gives each of your devices, like your computer, your phone, and your Raspberry Pi, a private address within your home. However, it also presents a single, public address to the outside world. This setup, while good for security and keeping things organized, creates a bit of a wall between your inside devices and the outside internet, which can be a slight bother when you want to reach something specifically, you know, inside.
This wall, sometimes called a "firewall" or "NAT" (Network Address Translation), is there to protect your devices from unwanted visitors. It's like having a receptionist who knows where everyone is inside the building but only gives out one main phone number for the whole place. If someone calls that main number, the receptionist needs to know exactly which extension to send them to, otherwise, the call just won't go through. This is exactly the kind of thing that makes accessing a remoteIoT behind router a bit of a head-scratcher for many, honestly.
Without some special instructions, your router doesn't know that an incoming request from the internet is meant for your Raspberry Pi specifically. It just sees a request and, because it doesn't have a clear instruction, it simply drops it. This is why you can browse websites from your Pi, because those connections are initiated from *inside* your network going *out*. But getting a connection to *start* from the outside and come *in* to your Raspberry Pi is a different story altogether, which is, basically, the core of the issue, right?
Why is RemoteIoT Behind Router a Challenge?
The main reason getting to your remoteIoT behind router is a challenge comes down to how home networks usually work. Most home internet connections use something called NAT, or Network Address Translation. This system allows many devices inside your house to share one single public internet address. It's a clever way to save on public addresses, but it also means that your router acts as a kind of gatekeeper, and it doesn't automatically let outside requests through to specific devices inside, which is, you know, a pretty common setup for most homes.
Think of your router as a busy post office. Every letter coming into the post office from the outside world has the same address: your house. But inside your house, you have different rooms, and each room might have its own specific mail slot. When a letter arrives at the post office, it doesn't know which room it's supposed to go to unless you've given the post office very clear instructions. If no instructions are given, the letter just sits there, or gets sent back, which, you know, is not very helpful for your remoteIoT behind router plans.
Another part of this challenge is the firewall, which is often built into your router. This firewall is like a security guard that checks all incoming and outgoing traffic. Its default setting is to block most incoming connections that weren't specifically asked for by a device inside your network. This is a good thing for keeping your network safe from unwanted intrusions, but it means you have to deliberately tell the firewall to make an exception if you want to reach your remoteIoT behind router, which can be a bit of a technical step, to be honest.
Picking Your Path - RemoteIoT Behind Router Methods
So, if you want to reach your remoteIoT behind router, you have a few different ways you can try to get past that router wall. Each method has its own set of things to think about, like how easy it is to set up, how secure it might be, and whether it costs any money. There isn't one single "best" way for everyone, as what works well for one person's setup might not be quite right for another's. It really depends on what you are trying to do and how comfortable you are with a little bit of technical fiddling, which is, you know, a pretty common situation in these kinds of projects.
Some methods involve making changes to your router's settings, while others use outside services or clever software tricks on your Raspberry Pi itself. The goal, no matter which path you choose, is to create a way for an outside connection to find its way to your specific device, like your Raspberry Pi, even though it's tucked away inside your home network. It's about building a sort of digital bridge, you could say, from the outside world right to your little computer, which, in a way, is pretty much what we are aiming for.
Before you decide, it's a good idea to think about what you need. Do you just need to send a few commands, or do you want full control over your Raspberry Pi's desktop? How often will you need to connect? And, perhaps most importantly, how concerned are you about keeping things really secure? Answering these questions will help guide you to the method that makes the most sense for your remoteIoT behind router project, which is, you know, a pretty sensible first step, in fact.
Is Port Forwarding the Answer for RemoteIoT Behind Router?
Port forwarding is one of the more traditional ways to get to your remoteIoT behind router. It involves telling your router that any incoming requests on a specific "port" (think of it like a specific door number) should be sent directly to a particular device on your home network, like your Raspberry Pi. It's like telling that post office receptionist, "If anyone sends a letter marked 'Room 7,' please send it directly to my Raspberry Pi." This method can be fairly straightforward to set up on many home routers, which is, you know, why it's often one of the first ideas people consider.
The good thing about port forwarding is that it's often quite simple to get going, and it doesn't usually require any extra services or subscriptions. You just go into your router's settings, find the "port forwarding" section, and put in the details: the port number, the internal IP address of your Raspberry Pi, and the type of connection (TCP or UDP). Once that's done, pretty much anyone on the internet who knows your public IP address and the correct port number can try to connect directly to that service on your Pi, which is, in a way, its biggest strength and its biggest weakness.
However, there are some important things to think about with port forwarding. The biggest one is security. When you open a port, you're essentially creating a direct path from the internet to your device. If the service running on your Raspberry Pi isn't completely secure, or if it has known weaknesses, then you could be opening yourself up to unwanted visitors. It's a bit like leaving a window open in your house; it's convenient for you, but it also means anyone else could potentially climb through. For a remoteIoT behind router setup, this means you need to be really careful about what services you expose and how well they are protected, which is, you know, a serious consideration.
Using VPNs for RemoteIoT Behind Router Connections
Another approach to reach your remoteIoT behind router is to use a Virtual Private Network, or VPN. This method works quite differently from port forwarding. Instead of opening a door directly to your device, a VPN creates a secure, encrypted tunnel between your remote device (like your phone or laptop) and your home network. Once you're connected through the VPN, your remote device essentially becomes a part of your home network, as if it were physically sitting right there next to your router, which is, you know, a pretty clever way to do things.
With a VPN, all your internet traffic between your remote device and your home network goes through this secure tunnel. This means you can access your Raspberry Pi, or any other device on your home network, using its internal IP address, just as if you were at home. This is a much more secure way to get remote access, as you're not opening up individual ports to the wider internet. Only those who have the correct VPN credentials can get into your network, which is, honestly, a much safer feeling, in some respects.
Setting up a VPN server on your home network, perhaps directly on your router if it supports it, or on a dedicated device like your Raspberry Pi, can take a little more effort than simple port forwarding. You'll need to install and configure the VPN software, and you might still need to forward one single port on your router for the VPN connection itself to be established. However, the added security and flexibility of being able to access *all* your home network devices, not just one, often makes the extra setup worth it for a remoteIoT behind router scenario, which is, you know, a definite plus for many.
Reverse SSH for RemoteIoT Behind Router Access
Reverse SSH tunneling is a particularly clever way to get to your remoteIoT behind router, especially if you don't want to mess with your router's settings or if you have a tricky internet setup. This method involves your Raspberry Pi initiating an outgoing connection to a publicly accessible server (which you might own or rent, or even a friend's server). This outgoing connection creates a "tunnel" back to your Pi, allowing you to then connect to your Pi through that public server, which is, you know, pretty neat how it works.
Here's how it generally works: your Raspberry Pi, which is behind your router, makes an SSH connection *out* to a server that has a public IP address. When it makes this connection, it tells the public server to set up a specific "listening port" on the public server. Any traffic that comes into that listening port on the public server is then sent *back* through the SSH tunnel to your Raspberry Pi. This means you can connect to the public server's IP address and that specific port, and you'll end up connected directly to your Pi, which is, basically, a very effective workaround for the router's wall.
This method is great because your home router sees the connection as an outgoing one, which it typically allows without any special configuration. You don't need to open any ports on your home router. The main requirement is having access to that public server, which could be a cheap cloud server you rent, or even another Raspberry Pi at a friend's house with a public IP. It's a very secure way to get remote access, as the tunnel is encrypted, and it's quite flexible for a remoteIoT behind router setup, which is, honestly, a very popular choice for many people doing these kinds of projects.
A Practical Walkthrough - RemoteIoT Behind Router on Raspberry Pi
Let's talk a bit about how you might actually put one of these ideas into practice on your Raspberry Pi for remoteIoT behind router access. While the specific steps will depend on which method you choose, a common starting point for all of them is to make sure your Raspberry Pi is set up correctly and has a stable internet connection. You'll want to ensure it's running the latest software and that you can access it locally, perhaps with a keyboard and screen, or through SSH from another computer on your home network, which is, you know, a pretty standard first step for any Pi project.
For example, if you decide to go with the reverse SSH tunnel method, you would first need to get a public server. This could be a small virtual private server (VPS) from a cloud provider, which are often quite affordable. Once you have that server, you'd make sure it's also set up with SSH access. Then, on your Raspberry Pi, you'd write a small script or use a command that tells your Pi to connect to that public server and create the reverse tunnel. This script would usually run automatically when your Pi starts up, making sure the connection is always there, which is, honestly, a pretty robust way to keep things going.
You would then test the connection. From your remote location, you would try to SSH into the public server using the specific port you set up for the tunnel. If everything is working, you should find yourself connected directly to your Raspberry Pi. This approach for remoteIoT behind router access gives you a lot of control and is quite secure, as the connection is initiated from the Pi itself, avoiding many of the common router hurdles. It's a bit more involved than some other methods, but it offers a good balance of security and flexibility, which is, you know, often what people are looking for.
What Should You Consider for Secure RemoteIoT Behind Router Setups?
No matter which way you choose to access your remoteIoT behind router, keeping things secure should always be a top priority. Opening up your home network, even in a controlled way, means you need to be mindful of potential risks. One of the very first things you should always do is make sure your Raspberry Pi's operating system and any software running on it are completely up to date. Software updates often include important security fixes that help protect against known weaknesses, which is, you know, pretty much a basic requirement for any connected device.
Another really important step is to use strong, unique passwords for everything. This includes your Raspberry Pi's login, your router's administration panel, and any services you might be exposing. Avoid using easy-to-guess passwords, and definitely don't use the default passwords that come with your devices. Consider using SSH keys instead of passwords for SSH access, as they are generally much more secure. This simple step can make a very big difference in keeping your remoteIoT behind router setup safe from unwanted attention, which is, honestly, a very sensible precaution.
Finally, think about what services you truly need to expose or access remotely. If you only need to check a sensor reading, maybe a simpler, more contained solution is better than opening up full SSH access. The less you expose to the outside world, the smaller the chance of something going wrong. Regularly check your router's logs and your Pi's logs for any unusual activity. Being a little bit cautious and keeping an eye on things can go a long way in making sure your remoteIoT behind router projects stay secure and do exactly what you want them to do, which is, you know, the whole point, right?
Related Resources:


Detail Author:
- Name : Abby Kunde
- Username : douglas.nikolas
- Email : ally46@hamill.com
- Birthdate : 1980-09-09
- Address : 182 Graham Center North Chrisland, VT 22860
- Phone : +1 (432) 962-7897
- Company : Zulauf, Corwin and Spinka
- Job : Marine Cargo Inspector
- Bio : Maxime quis est iusto delectus tempora reprehenderit ipsam. Sapiente neque et ratione est et veniam recusandae necessitatibus. Consequatur et voluptates et rerum modi.
Socials
tiktok:
- url : https://tiktok.com/@brakus1988
- username : brakus1988
- bio : Cumque nam sint quaerat rerum. Explicabo eum nobis mollitia qui sit error.
- followers : 5301
- following : 990
facebook:
- url : https://facebook.com/brakusn
- username : brakusn
- bio : Laboriosam earum repellat quo harum.
- followers : 2586
- following : 2377
instagram:
- url : https://instagram.com/brakusn
- username : brakusn
- bio : Non hic beatae consectetur et dignissimos harum. Sint tempora non ipsa fuga omnis.
- followers : 6659
- following : 2320
twitter:
- url : https://twitter.com/brakusn
- username : brakusn
- bio : Aliquam et aut alias deleniti ex incidunt totam corporis. Cumque sed mollitia officia dolore. Culpa id veritatis in atque soluta libero.
- followers : 228
- following : 1176
